 |
Plywood seat chosen, now ready for screwing in and sanding and varnish. |
 |
| Close up of selected plywood seat - the lasercut logo i chose because it adds a 3D effect to the stool, also allows for rain to drop through should it be exposed to the elements. |
 |
| 5mm lasercut plywood - couldn't decide which design looked best in my opinion, so i made a few mock ups first |
 |
| Powdercoated and ready for the plywood seat! |
At this stage the stool weighed 1455g!
 |
| welded all the joins together, ready to be cleaned up with a grinder before powdercoating. |
|
 |
| steel strips cut out for the tabs (seen below) that are welded to the inside of the seat to screw the plywood top into |
 |
| Heat bent legs and machine roller to bend the perfect circle, pieces are then welded together individually |
 |
| Prototype |
 |
| Prototype sitting on my 1:1 cad drawing plans. and needed a seat on the train home so quickly wrapped this unwanted rope around it. (also found the rope was uncomfortable after a while and will look into using plywood instead) |
 |
| prototype of frame, found that there needs to be a weld to hold the intersecting legs and minimise twisting. |
 |
| welding the legs onto the frame at the correct proportion proved tricky and frustrating! |
 |
|
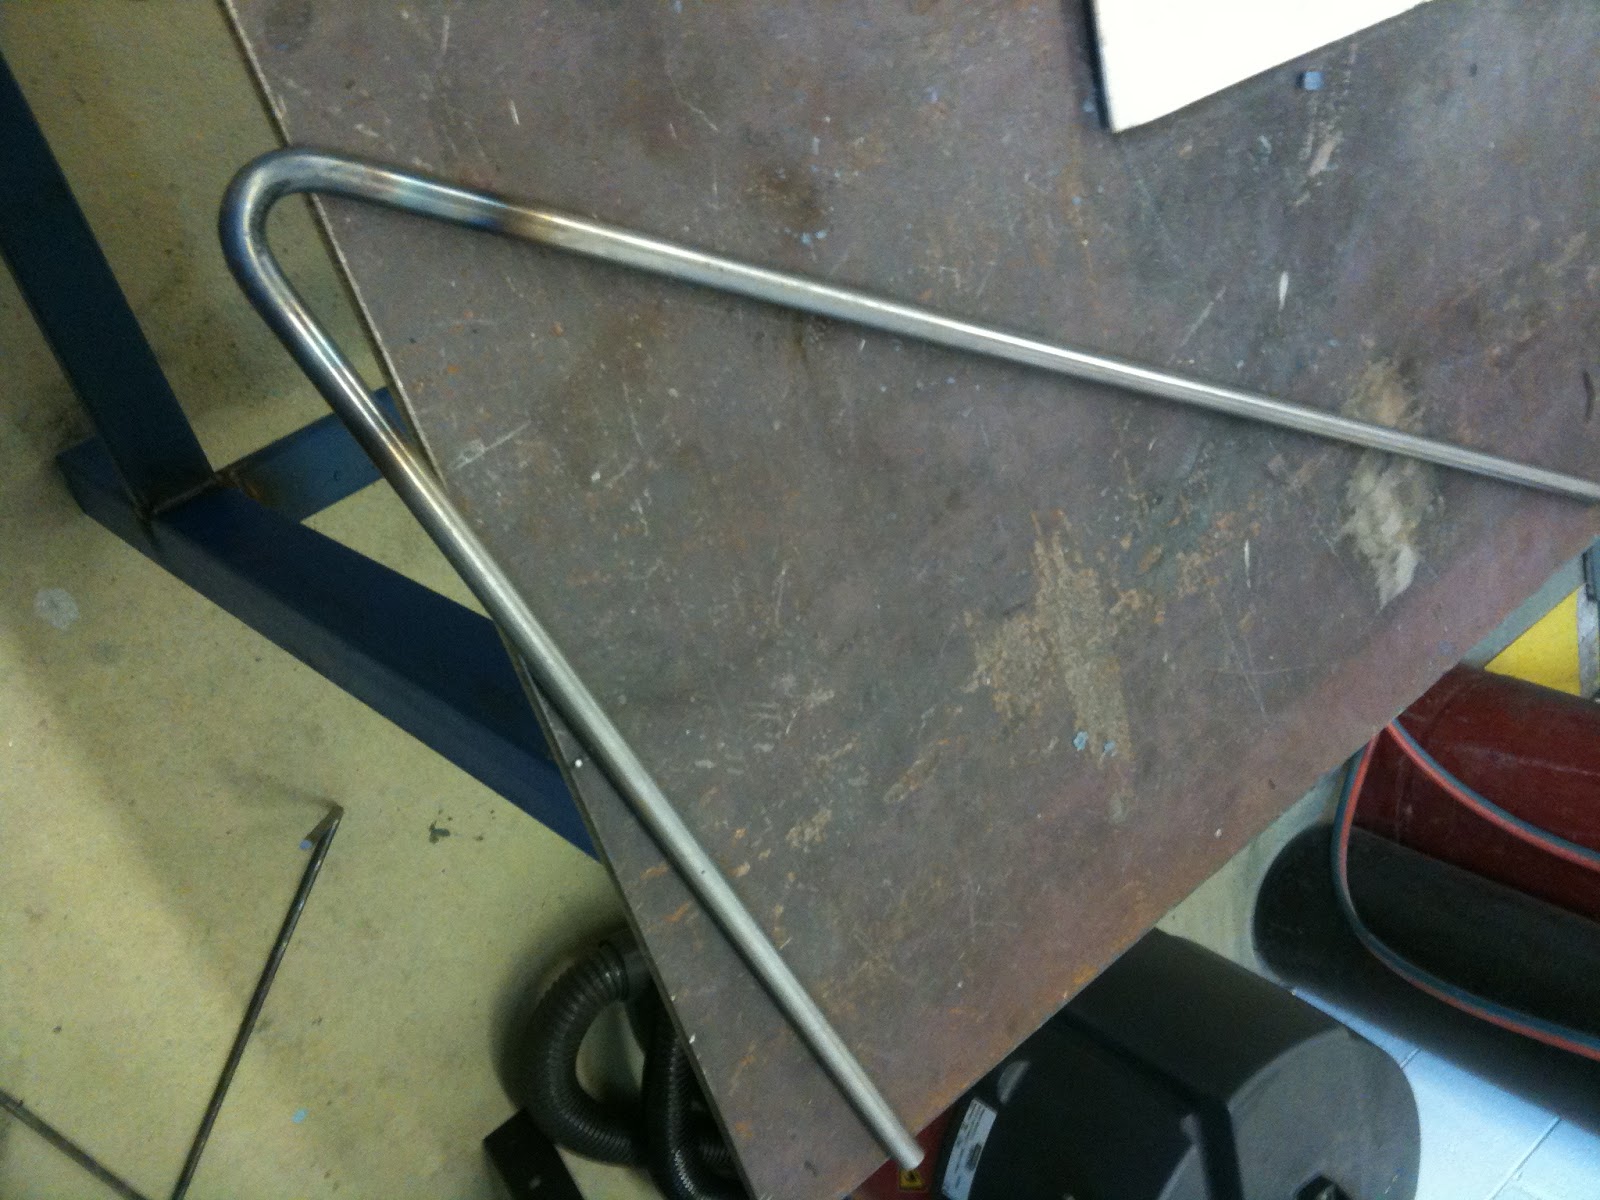
Using the heat torch, i bent one leg for my prototype stool using 10mm steel rod |
|
 |
| after playing around with tubular steel, i decided to change my material to steel rod as it would be skinnier and not as chunky |
 |
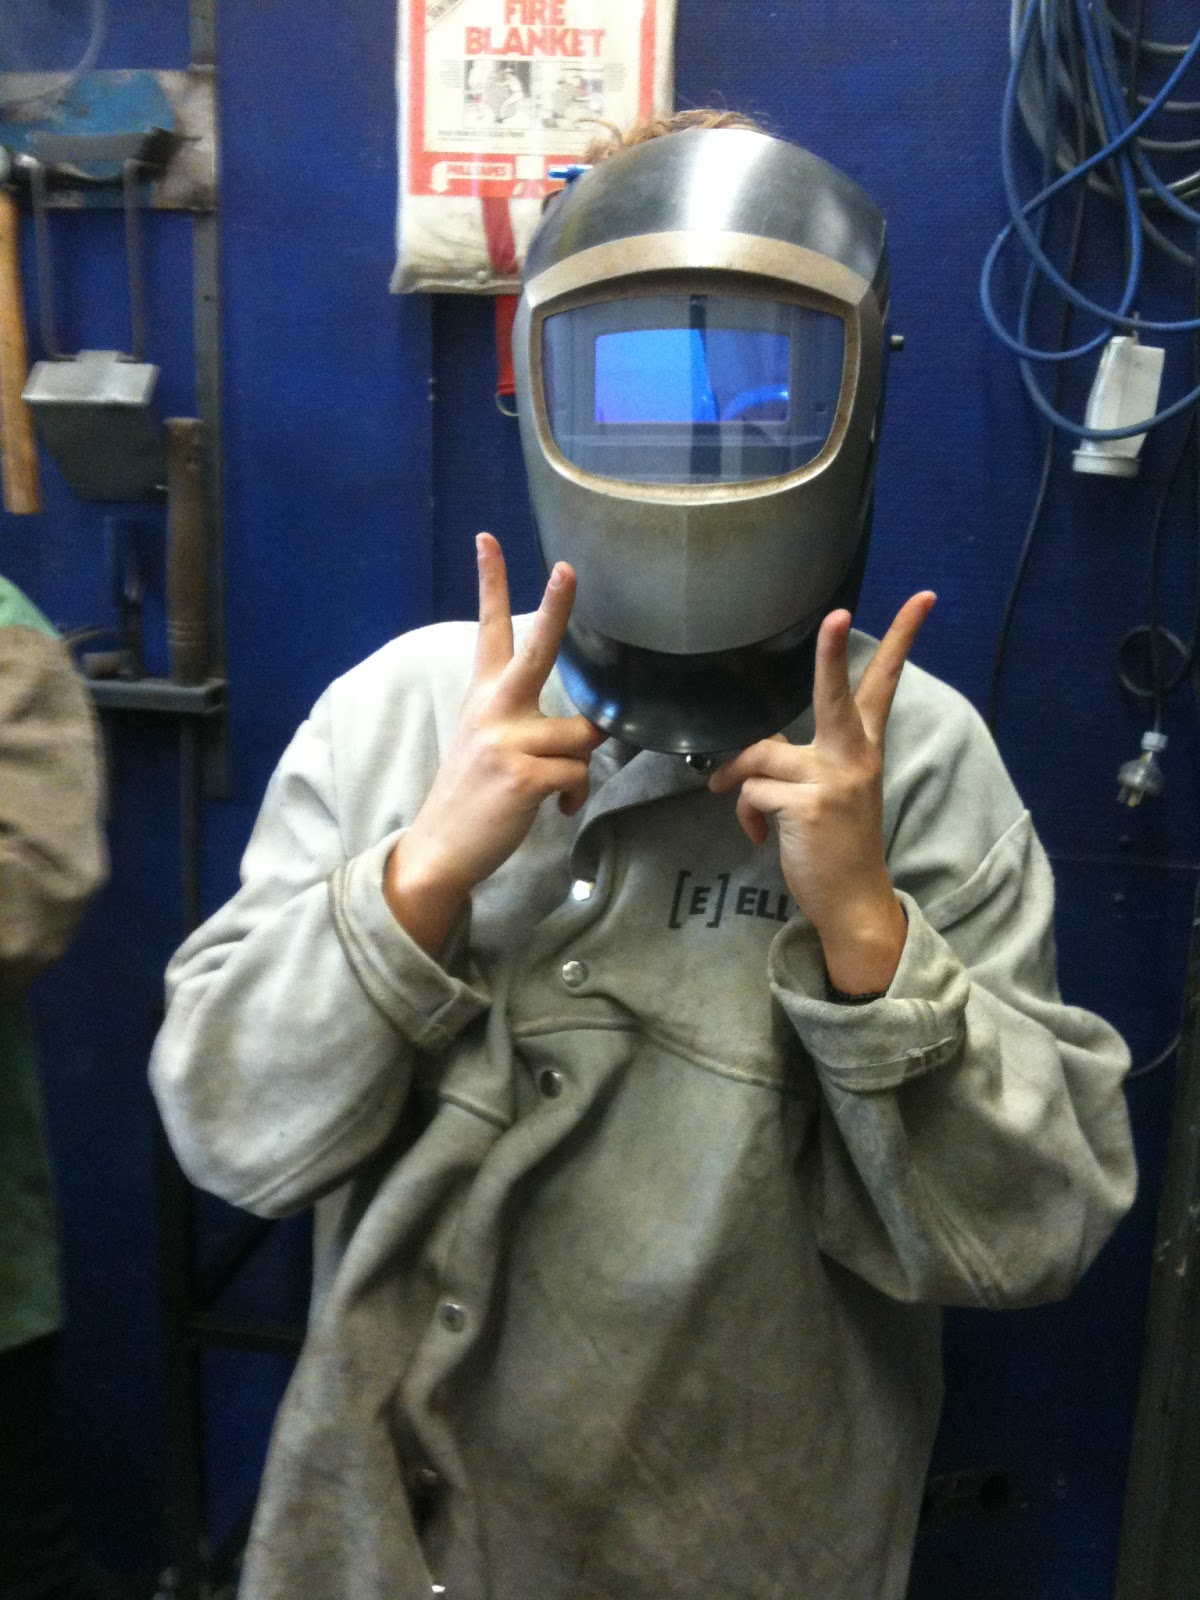
| was testing tubular steel and practicing my welds |
 |
| workshop material testing and learning how to weld...like a tiny boss. |
 |
| underside view of concept model |
 |
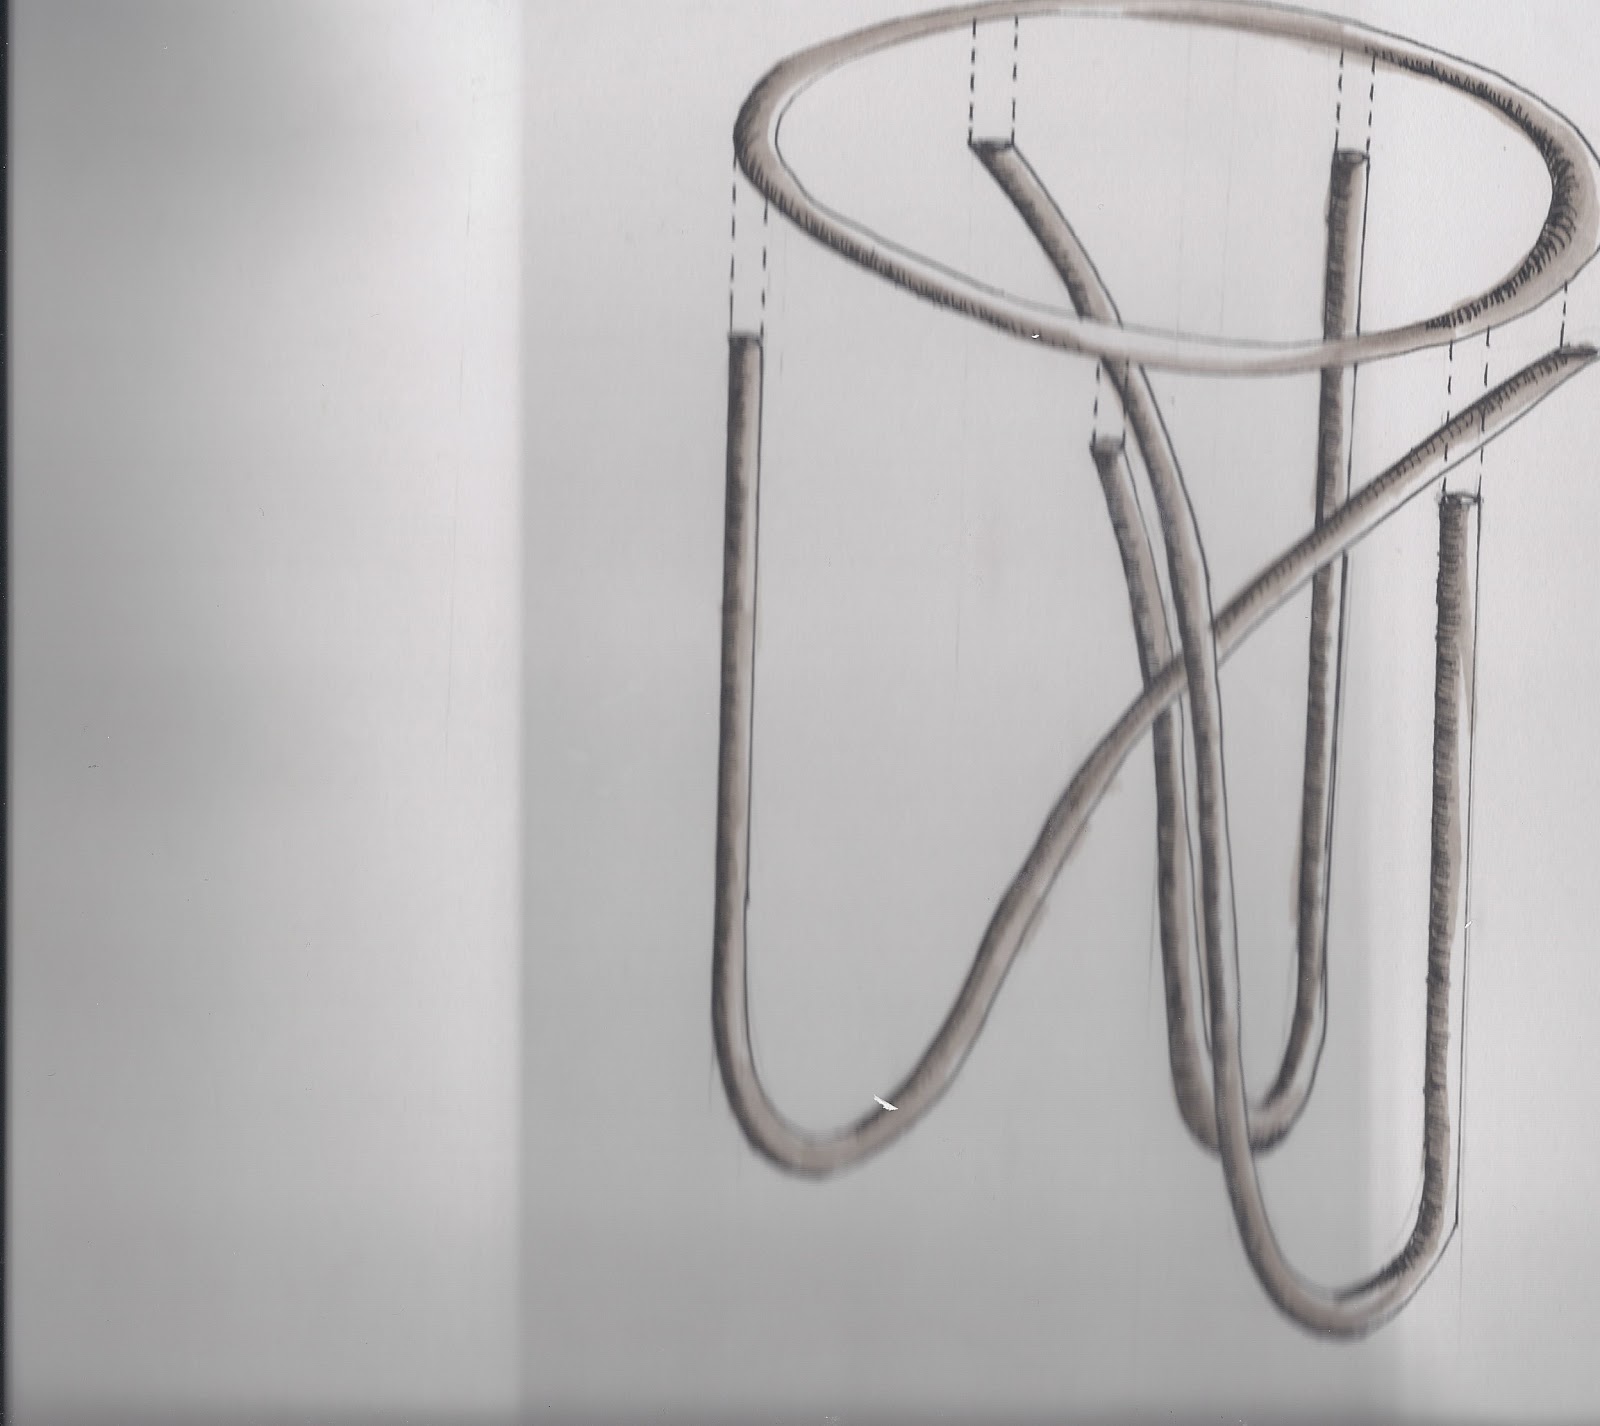
model of previous sketch, found that the legs need to be on a angle and sit outside of the seat circumference to balance properly
The idea of this stool design came from the image of a tooth, almost tracing the outlines as the legs. |
 |
| fixed the concept so the legs were longer |
 |
| testing the load bearing capability of the stretched canvas |
 |
| made this model way out of proportion but wanted to think about whether it was going to fold or stack and examine the way the legs intersect. |
 |
| 3concepts for presentation review |
 |
| Then made more little tacky models for testing... |
 After consoling with lecturers, I decided that it was going to be uncomfortable and needed to introduce some curves or completely change the design.
 |
| First
concept I came up with was a alluminium frame with lyrca stretched over
each surface. I made up some little models to test the balance. |
Initial sketching ideas
THE BRIEF
To design a cafe stool that is under 2kg, within the constraints of a 400mm x 400mm x 400mm box and balance on uneven surface. The idea is to use lightweight materials in an efficient manner that will bear the load of a human for extended periods


 After consoling with lecturers, I decided that it was going to be uncomfortable and needed to introduce some curves or completely change the design.


